Restoration
of the Sony ICF-6700W - nr 3 (1978)
1. OLD
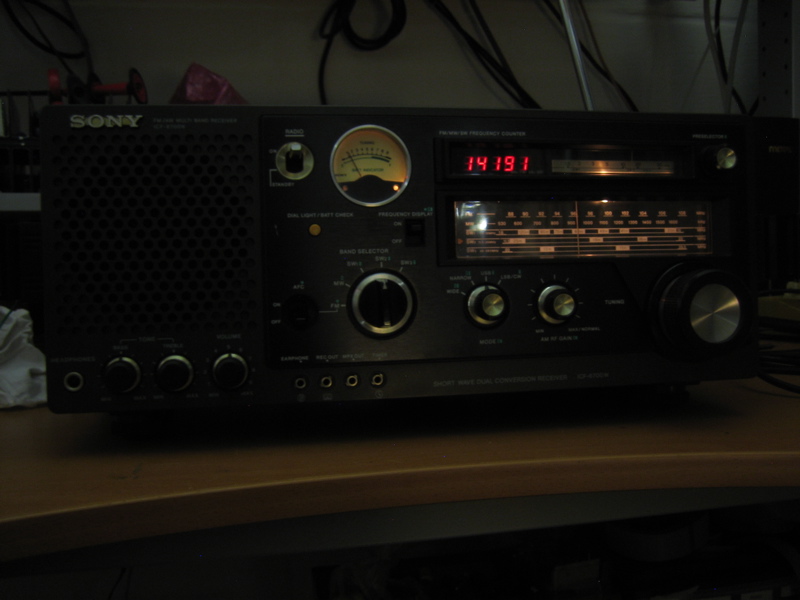
I bought this ICF-6700W on a Belgian second hand site off the Internet. It
was was a very nice unit in appearance:
- 1 small scratch on the front
- 1 small stain on top
- some dirt
... but with all levers, levers and knobs original. Cool. However...
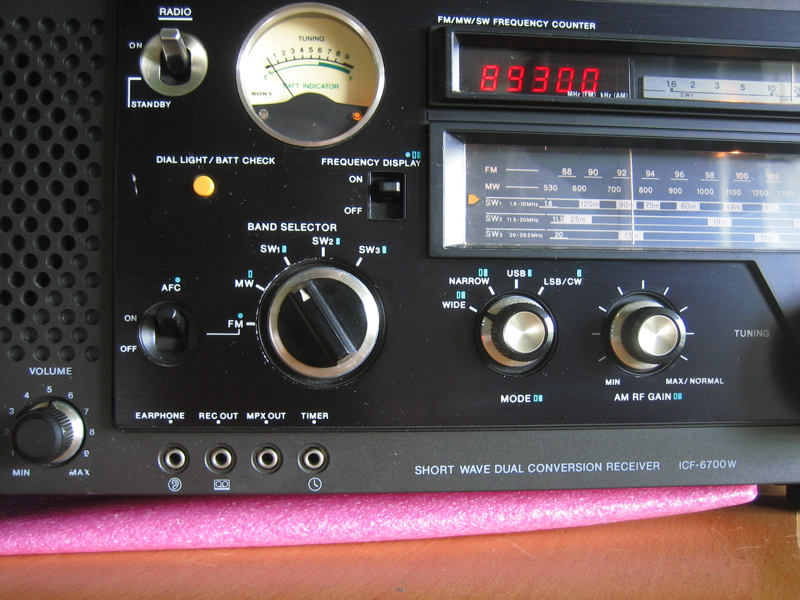
the unit had
the famous "band selector bug" - no receive on shortwave and 89300 in
the display. No panic - it is not lethal on the 6700W as opposed to the
6800W (white) where it usually means a dead PLL! For the 6700W 89300
means that no signal is getting in the counter on SW (remember 89300 +
1st IF 10700 = 00000). This is usually easy to fix - see below.
2. NEW
a. Clean with water and soap
b. Analyse the error by looking at the schematic -
download the service manual. By carefully observing behaviour, it is
possible to narrow down the problems to a very specific area. In this
case, i.) AM is working fine and ii.) the same oscillator components are
being used for the MW oscillator and SW1 oscillator, the output of which goes to the counter. AM counts fine, so we
can safely assume the the problem is in the SW L/C ciruits of this oscillator.
This is also were all the switching happens to select the correct L/C
combination for a specific band. So dirty contacts on S1 are likely.
c. Start taking the
radio apart... don't do this in a hurry, it will take the best part of
an hour. Take your time, and don t force stuff. Send the kids away and
make sure you have an uninterrupted slot... particularly the first
time you do this.
First: Take off the back cover secured by 5 screws.
Second: Unsolder the AM, FM and SW antenna wires.
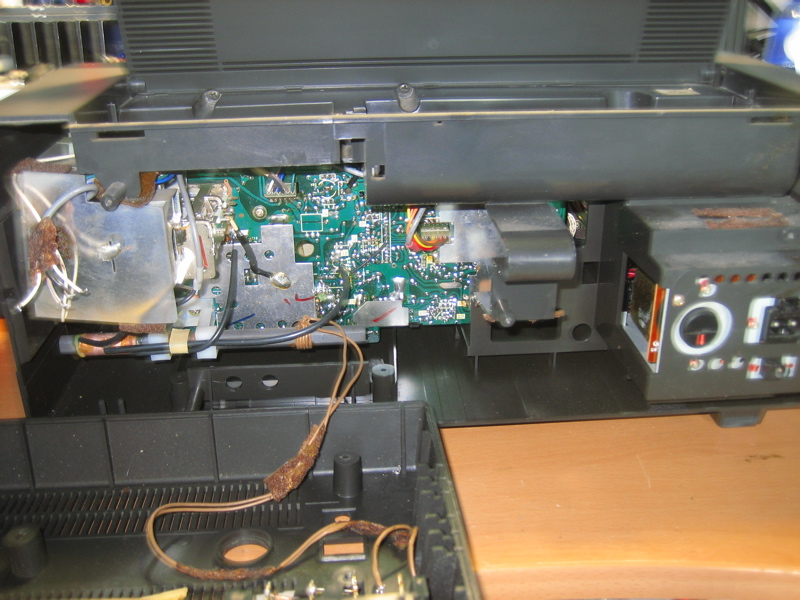
Third: Take
off the
case of the radio by loosening 6 screws connecting it to the front
panel, and slide the front (with the mainboard attached to it) out of
the case. You will have to unlock the case top left with a screwdriver.
Carefully put the 2 pieces next to each other. Don't stretch the power
supply wires coming from the transformer. In this position, the radio
is fully operational, and most alignment and repair can be done now.
Sorry for the picture quality - I need to stop buying radios and get a
new camera.

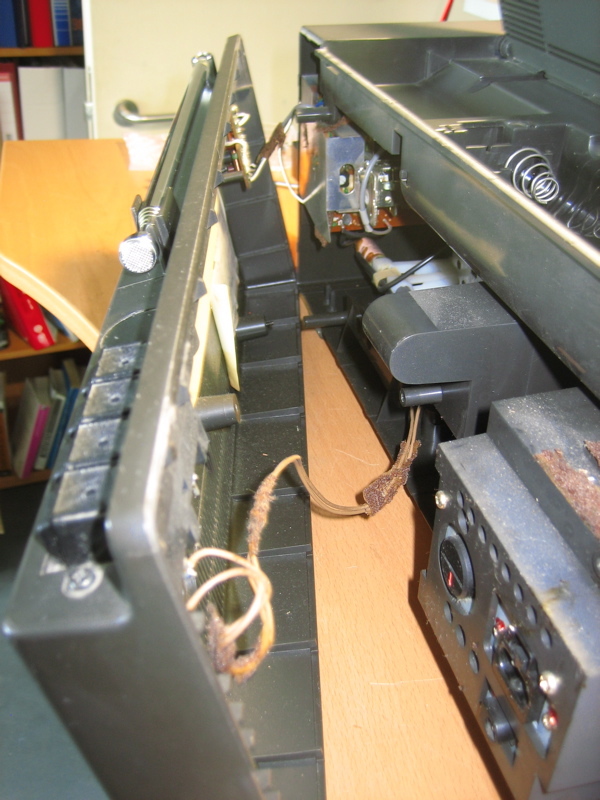
Forth: As far as this specific problem is concerned, the S1 switch sits
under the left shield with the marks indicated in the picture above.
Flip the band select switch to find it. Attack with contact spray
through the side holes of the switch accessible at the component side
of the mainboard. Dry. Repeat. Dry. You should start to see
improvement after a while. Don't drown the radio in spray - it is
supposed to go IN the band switch only.
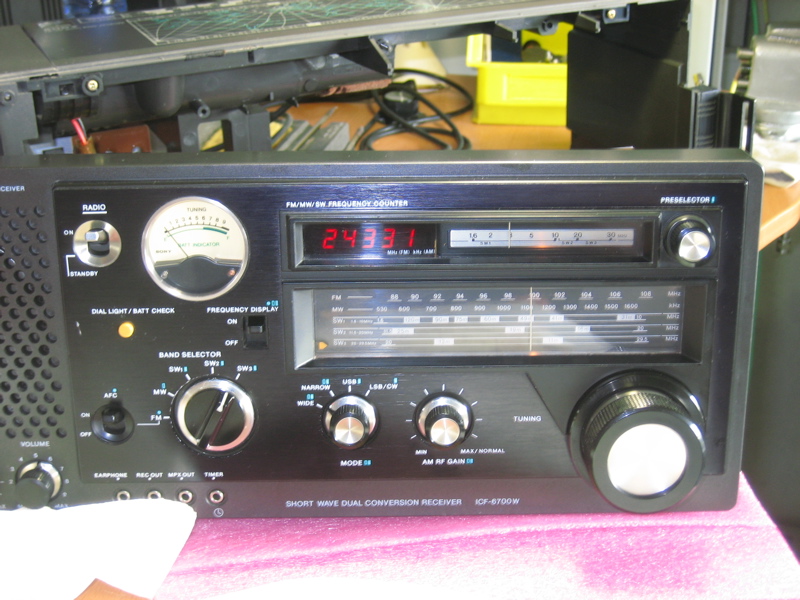
Fifth: Victory... S1 comes to live again, and normal readings in frequency are obtained.
d. Perform alignments as per service manual. All alignments except a
few can be done without taking the main board out (You have to take the
front off to do the preselector coils). For example, AM tracking
alignment 1.4MHz, 30% 400Hz AM modulatioon at 0 dBm out below. I like
to replace the AC Voltmeter by a scope, so you are actually see a clean
6700W 400Hz demod.
e. Put together in reverse order and enjoy.
Having fun ... on 20meters this time - CQ DX South America from RA3XYZ.
3. OPEN ISSUES
None really.
4. SUMMARY
Don't
give up when the contact spray doesn t work the first time... keep
going at it...but use moderate amounts. This was my first encounter
with the 89300 issue. All in all, not too bad, about 5 hours of
mechanical/electrical cleaning and fixing were needed to make bring
this baby back to life.
5. DOCUMENTATION
Good documentation is hard to find. BAMA scans are low quality. Here
are good scans of schematic and components:
schematic
diagram Sony ICF-6700L
component
placement Sony ICF-6700L
For the 6700W everything is the same except that the LW parts
don't exist,
and the MW/LW switch is now AFC to ground/VCO. All numbering and
placement is the same. Note that the documentation (service manual)
contains some errors.
Serial number 18146
back